Exploring the Benefits of Reolink Camera Setup
In today’s world, with countless security and surveillance devices available, Reolink has positioned itself as a leader in providing efficient security cameras. Their products feature high resolution and a range of smart functions to meet users’ everyday safety needs. Before you can take full advantage of these devices, however, it is essential to complete the reolink camera setup.
Further, to help users maximize the benefits of their Reolink security cameras and utilize their exceptional features, we have compiled this guide. You will also discover various methods for completing the Reolink security camera setup in the following sections. So, stay tuned for more valuable information!
How to Setup Reolink Camera?
Before starting the configuration process for your Reolink camera, it’s important to gather the necessary items, such as a stable internet connection and accurate login credentials. Additionally, you should choose a suitable method for logging into your camera.
Recognizing that not every user is an expert in Reolink camera configuration or familiar with the login methods, this section outlines three essential ways to log into your Reolink security device. Take a look below:
Reolink Camera Setup Using the NVR Software
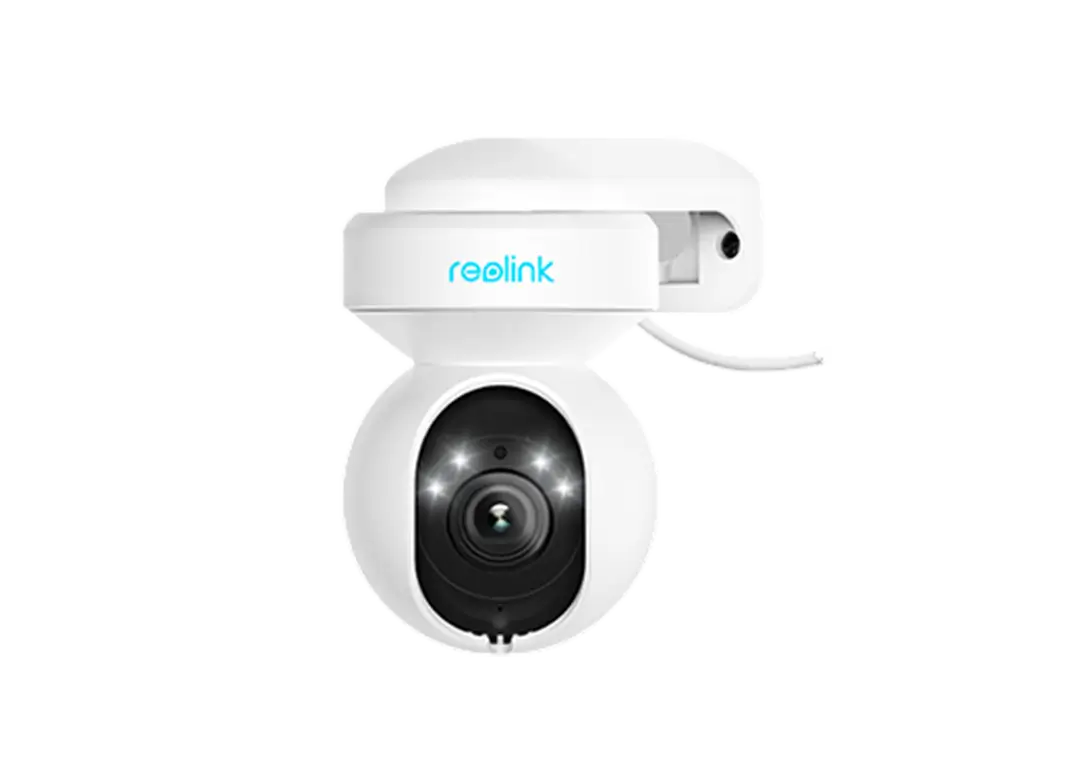
- To begin with, make sure that the smart Reolink Camera is powered ON.
- Now, link the Laptop/PC to the current home Wi-Fi network.
- Then, download and then open the NVR software.
- Next, update the firmware by installing the appropriate firmware of the software.
- Later, select the category and the product under the device name.
- After that, choose the hardware version and then click on the ‘Search’ icon.
- When you have downloaded the real links download page to a thumb drive and insert it into the USB port.
- Here, you reach the smart dashboard of the device.
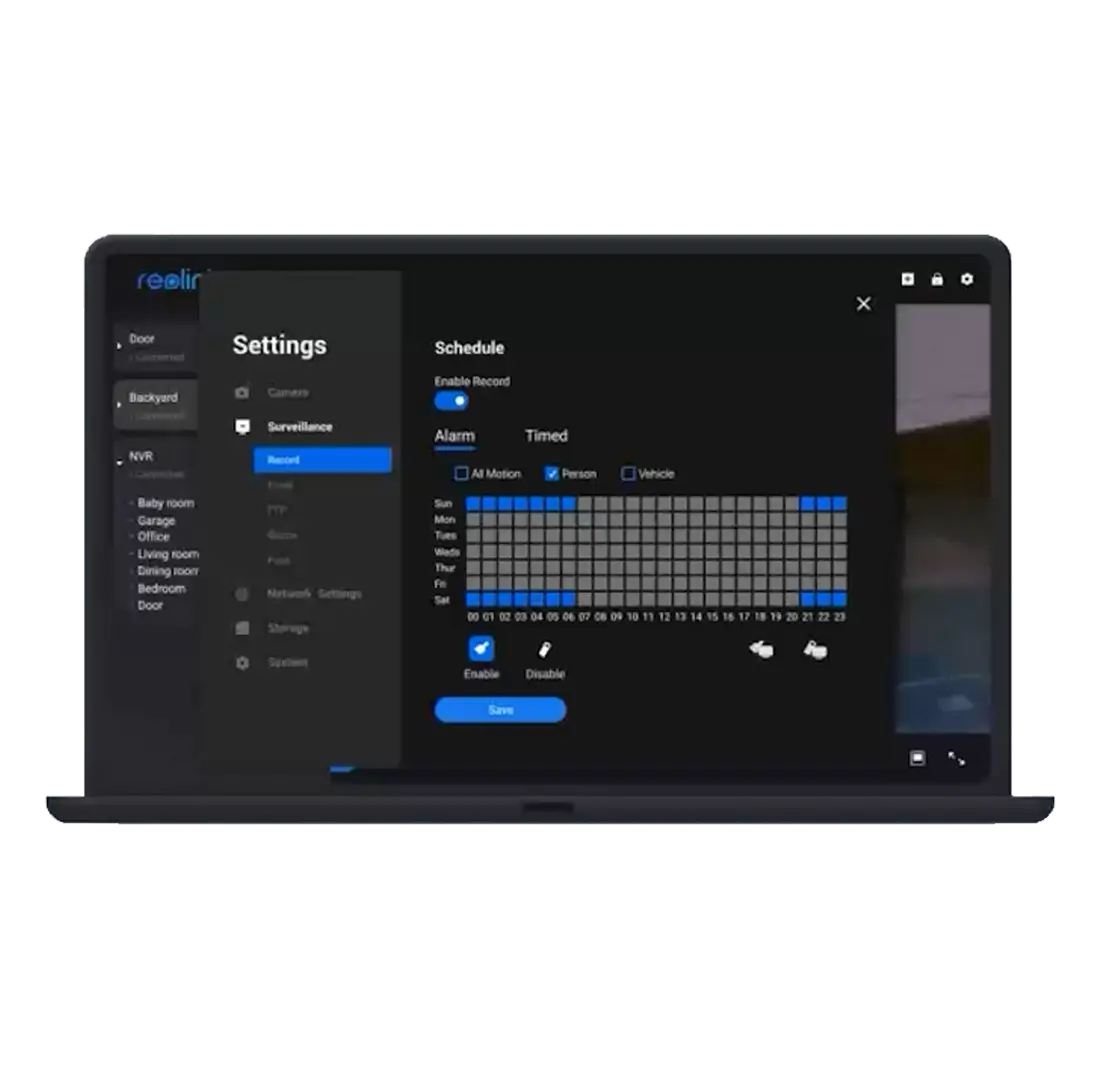
- Next, navigate the Settings>System>Maintenance>Upgrade.
- Then, follow the on-screen instructions for the further process.
- Now, get a POE injector/POE switch and then attract the cables instructed further.
- Later, insert an SD Card and then add it to the Reolink app by scanning the QR cord.
- Hereon, go ahead with the in-app guidelines for the additional configuration.
- At last, you will come to know how to setup Reolink camera effortlessly.
Configure the Reolink Device Through the App
- First and foremost, confirm that the camera is switched ON and is thoroughly charged.
- Then, open the updated version of the Reolink app on your mobile phone.
- Now, access the admin panel of the gadget by typing the appropriate details.
- Afterwards, tap on the “+” option at the top right corner of the display.
- Hereon, scan the QR code which you will find at the back of the camera.
- Next, create a login & the password, and click on Next.
- Later, name the camera of your choice and then tap on the “Next” option.
- After that, click on Finish and the QR Code will be saved on your mobile device.
- Finally, Reolink’s configuration process is complete.

Client reolink Security Camera Setup
- Primarily, connect the computer/PC to the existing home Wi-Fi network.
- Ensure that the camera and the PC are on the same network.
- Now, launch the updated version of the Reolink app on your mobile phone.
- Then, click on the “+” icon at the upper right corner to add the device to the app.
- Hereon, tap on Scan Device in LAN and then select the device you want to add.
- Later, click on the “+” button and then create the device passwords.
- After that, click on Next and then create the device’s name.
- Now, tap on the Finish option.
- Afterward, follow the upcoming guidelines on the screen for the further process.
- Lastly, the setup process is complete.
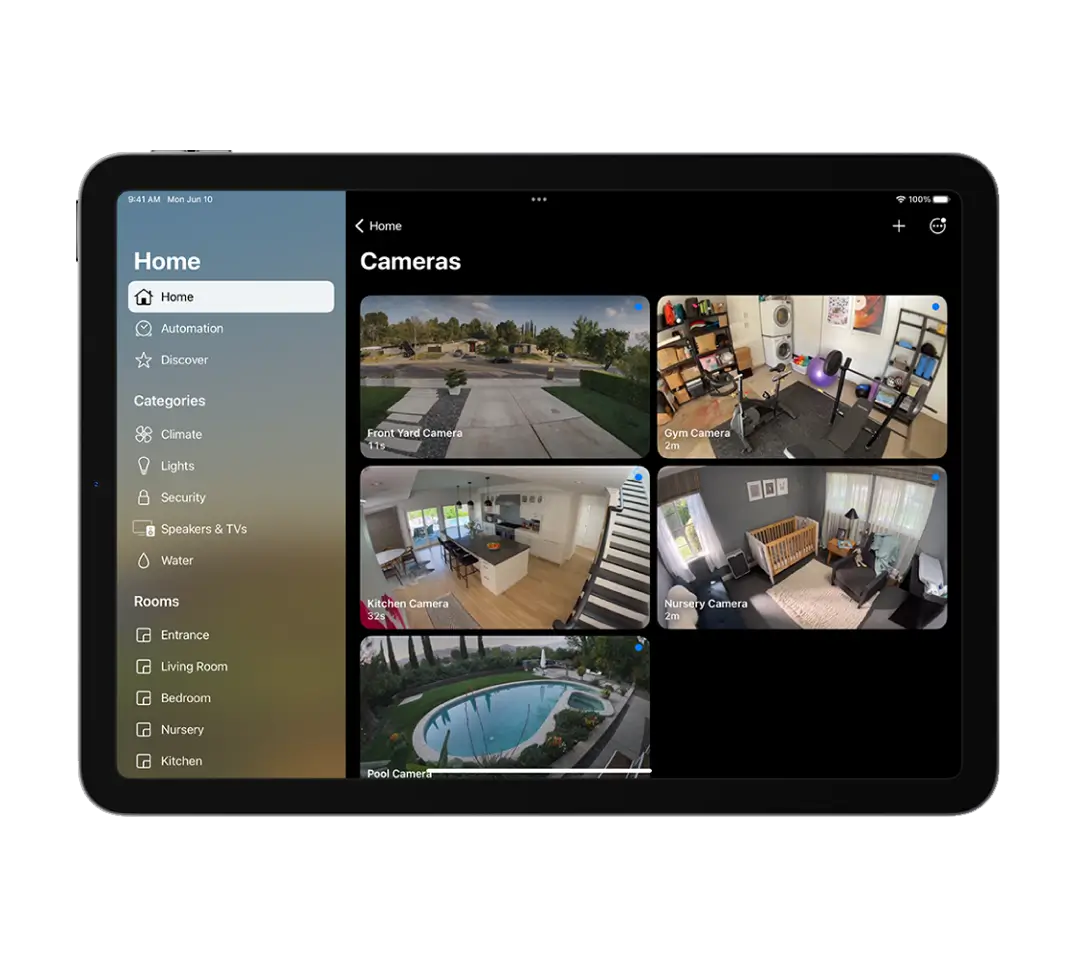
How to Access Cameras Outside Your Home Network?
- To begin with, make sure that the smart Reolink Camera is powered ON.
- Now, link the Laptop/PC to the current home Wi-Fi network.
- Then, open the web browser and type the gateway address in the browser bar.
- Next, enter the admin credentials on the login window that pops you and click on the Login option.
- On the camera’s interface, you see all the devices connected and their IP addresses.
- Pick the IP address you require according to the device you are operating.
- Hereon, you visit the smart setup wizard of the smart Reolink device.
- Later, check the port number of the camera and then configure the port forwarding rules via the port number.
- After that, you receive the wan ip:http port address of the surveillance device.
- Now, type the network URL address in the browser bar.
- Later, sign up into the device and you are done with the configuration procedure.
Final Thoughts
In outline, the Reolink camera setup process becomes much easier when applying the methods discussed above. Our guide provides essential steps for each procedure. If you need further assistance with your Reolink camera, get in touch with us!